Sapel Blog
Plastic Cement vs Plastic Glue
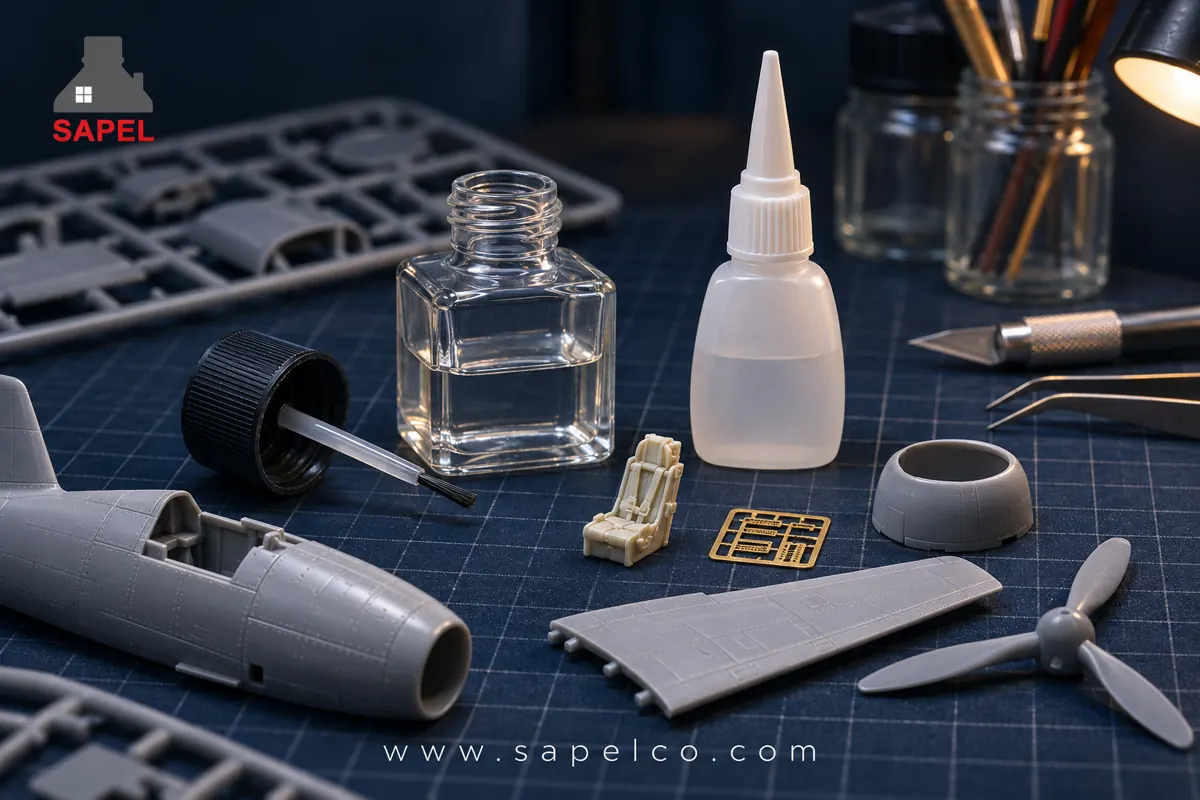
The difference between plastic cement and plastic glue is how they form a bond. Model cement softens a compatible plastic, such as polystyrene, using a solvent and creates a welded joint. Super glue forms an adhesive layer between the parts. The material and the manufacturer’s instructions matter more than the name on the bottle.
This article focuses on scale models, plastic kits and tabletop miniatures. For other adhesive families, see our guide to types of plastic glue.
Choosing between cement and glue affects structural strength, seam finish, the appearance of painted surfaces and the survival of delicate details. A broken antenna, a stubborn aircraft seam or a resin or metal component that will not attach to a plastic body can each call for a different approach.
Understanding the names: plastic cement and plastic glue
“Plastic glue” is a broad term that sometimes includes solvent cement itself. For clarity, this comparison uses “plastic cement” for a solvent-welding model adhesive and “non-welding glue” primarily for cyanoacrylate. Water-based adhesives have separate uses and should not be assumed to behave like super glue.
Instead of relying on a trade name, check the listed material compatibility and bonding method:
- Plastic cement: a specialist solvent-based product that softens and joins compatible plastics, especially polystyrene.
- Non-welding plastic glue: products such as cyanoacrylate, or super glue, and suitable water-based adhesives that form an adhesive layer without dissolving the plastic.
This distinction explains why similarly labelled bottles can behave very differently on a model. The important difference lies in the way the joint forms.
How they work: solvent welding versus adhesive bonding
Both products join parts, but what happens at the contact interface is different.
Plastic cement: joining the plastic surfaces
Model cement is a solvent adhesive. Rather than melting the plastic with heat, its solvent softens or partially dissolves the surface of a compatible material. When the pieces are brought together and held still, the softened surfaces bond, then harden as the solvent leaves. Some formulations also contain dissolved polymer, so not all cements have the same composition.
The TWI technical explanation of solvent welding describes how a compatible solvent softens polymer surfaces and allows polymer chains to interdiffuse across the interface. This process does not require external heating.
Super glue: creating a separate adhesive layer
Non-welding adhesives do not depend on dissolving the plastic. Super glue cures in the presence of small amounts of moisture in the air or on the surfaces, leaving a distinct hardened adhesive layer between the parts. It works with a wider range of compatible materials, but the resulting joint differs from a continuous solvent-welded plastic joint.
These mechanisms affect strength, seam cleanup, working time and compatibility with different model materials.

Technical comparison: strength and seam quality
The following comparison uses cyanoacrylate as the main example of a non-welding adhesive used in model assembly.
| Comparison | Plastic cement | Super glue / cyanoacrylate |
|---|---|---|
| Bonding mechanism | Solvent welding softens and joins compatible surfaces. | A separate hardened adhesive layer forms between surfaces. |
| Compatible materials | Suitable plastics, mainly polystyrene; ordinary model cement does not join cured resin or metal. | Many compatible plastics, resin, metal, photo-etched brass and mixed materials. |
| Strength and seam finish | A continuous joint in compatible plastic that can be sanded smooth. | Useful for small attachment points, but joints can be more brittle and long seams harder to finish. |
| Working and adjustment time | Some time for alignment, depending on the formulation. | Often very short; some gels allow limited repositioning. |
| Gap filling | Works best on closely fitted seams. | Some thicker formulations fill small gaps or minor mismatches. |
| Clear parts | Contact with visible surfaces can cause marks, surface damage or crazing. | Some products leave a white haze as they cure. |
| Main risks | Flammable solvent vapours and damage to fine surface details. | Rapid bonding of skin or eyes, vapours and brittle joints under impact. |
On a well-fitted polystyrene seam, a small bead of softened plastic may squeeze out. Once fully hardened, it can be carefully sanded away. This can produce a smoother finish, although the result depends on the joint geometry, amount of cement and curing time. Super glue also has uses in local seam repairs and filling.
Super glue can set within seconds, leaving less time to correct an angle. Conventional cyanoacrylate joints can also be more brittle under side loads or impact. Within either adhesive family, viscosity changes how the product behaves at the seam.
Why viscosity and formulation matter
Different viscosities provide different ways to handle joint shapes and component sizes. Model cements from brands such as Tamiya, Mr. Hobby, Humbrol and Citadel are offered in different formulations:
- Extra-thin and quick-setting cement: a very fluid liquid typically applied with a fine brush to the edge of a seam after the parts have been fitted and held together. Capillary action draws it into the narrow gap. Quick-setting versions work faster, but excess liquid can spread under fingers or across surface detail.
- Standard and thicker cement: applied to the contact surface before bringing the pieces together. These formulations can provide more alignment time for larger parts, and some thicker products accommodate very small irregularities.
Cyanoacrylate viscosities address other needs. Thin products flow into tiny gaps and can set rapidly. Medium-viscosity glue offers control at small resin or metal attachment points. Thick or gel products resist running on vertical surfaces; suitable gap-filling formulations can help with small clearances and local repairs that will later be sanded. Check the actual product rather than assuming every gel has identical properties.

Common mistakes when substituting cement and glue
Assembly problems often arise when the behaviour of one adhesive is assumed to apply to another:
- Treating every plastic as identical: polystyrene, ABS, PVC and cured resin do not necessarily respond to the same cement. Ignoring the material can produce weak joints or damaged parts.
- Applying ordinary model cement to resin or metal: the required compatible plastic surface is absent, so a useful solvent-welded joint does not form.
- Using super glue for every long body seam: conventional brittle adhesive joints may be less convenient for aircraft or vehicle body seams and harder to blend under paint than a suitable solvent weld.
- Handling excess adhesive in the same way: too much cement can erase details and leave fingerprints. Excess super glue can leave shiny spots, lock moving parts or cause a white haze. Do not wipe softened plastic out of a wet cement seam; allow it to harden before carefully sanding.
- Cementing painted contact surfaces: paint obstructs solvent action. Keep structural contact areas clean and unpainted when using cement.
- Using accelerator to compensate for poor preparation: it speeds up curing but does not remove contamination or correct a poorly fitted joint. Some formulations can also produce whitening.
- Loading a joint before full cure: apparent initial set is not full strength. Depending on the product and conditions, a large cemented seam may need several hours or overnight before sanding or loading. Follow the manufacturer’s timing.

Safety, storage and workbench organisation
Use both products with suitable ventilation and follow their labels and safety data sheets. Many cements contain volatile, flammable solvents: keep the bottle closed and away from heat and sparks. Super glue can quickly bond skin and eyes. Prevent contact and follow the product’s safety instructions if an incident occurs.
Close containers immediately after use and store them upright in a cool, dry place. Do not refrigerate a product unless its manufacturer specifically recommends it.
Choosing a useful combination
Neither family is universally better. A modeller may use cement for a polystyrene body and then attach resin, metal or later painted components with a suitable super glue. Extra-thin cement for close seams, standard cement for larger pieces and medium or gel cyanoacrylate for mixed-material parts can provide a practical combination, selected according to the task.
Can model cement repair a polyethylene jerrycan?
Do not extend the compatibility of a polystyrene kit to polyethylene or polypropylene. Ordinary model cement is not designed for these materials, and conventional super glue may not produce a durable bond. Some specialist systems combine a primer with an adhesive; select them according to the material and intended use.
This distinction matters for containers such as a 20-liter plastic jerrycan. Gluing a crack does not by itself establish that a container is leak-tight or safe for liquids or chemicals. Consider replacing a damaged container.
Selecting the correct cap is also different from an adhesive repair. Compare the specifications of the SP-621 plastic cap for 20-liter jerrycans and the SP-622 vent-compatible cap for 20-liter jerrycans. The neck, thread, gasket and need for venting must match the container and its contents; glue cannot substitute for that compatibility.
Frequently asked questions
What can bond resin to plastic?
Ordinary polystyrene cement is not suitable for cured resin. Depending on the size and loading of the joint, consider super glue or epoxy specified for both materials.
What should I use for a clear model window?
An adhesive designed for clear parts, or a compatible water-based product, may be appropriate. Solvent cement can mark the surface, and some super glues leave a white haze. Test on a spare piece first.
When can I sand the seam?
Initial set is not full cure. Follow the manufacturer’s recommended time and avoid sanding or loading until the solvent has left and the joint has hardened.