

Sapel Blog
How to Grow Vegetables in Jerrycans
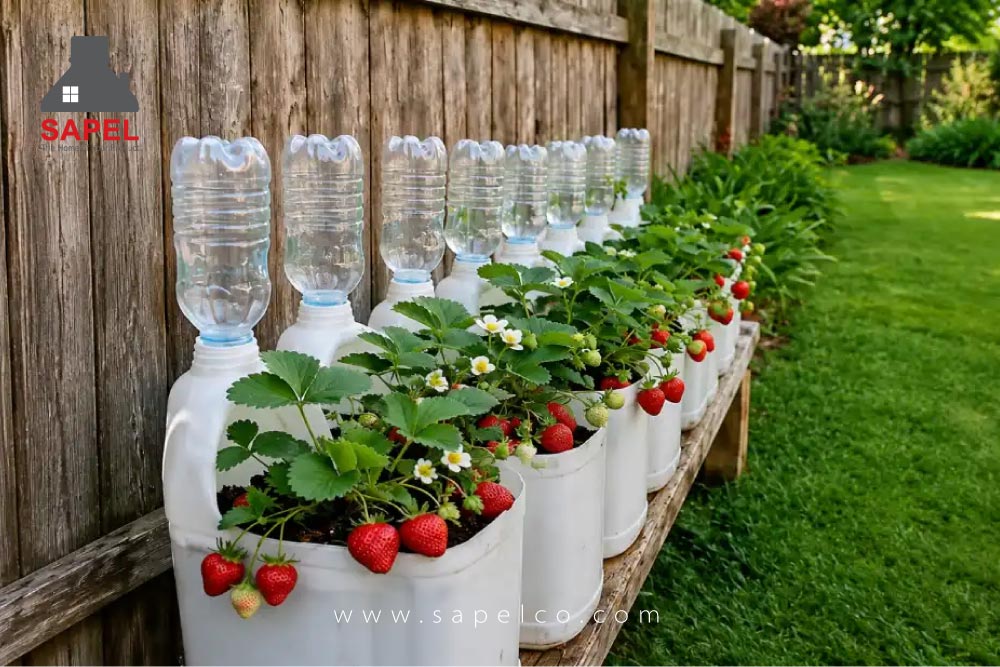
Many of us think we can’t grow our own vegetables because we don’t have a big yard or a plot of farmland. But it’s time to set the excuses aside: to start growing food, all you need is a discarded plastic jerrycan, a few drainage holes and some seeds. Home gardening with recycled containers is a creative, one-of-a-kind way to reconnect with nature in the middle of modern life.
Why Grow Vegetables in Recycled Jerrycans?
One of the biggest advantages of using cut-down plastic containers (such as water or liquid jerrycans), and even polymer sacks and empty cement bags, is that they are portable and easy to move. This gives you full control over your plants’ growing conditions: whenever the seedlings need sunlight, you can simply move the container into the sun, and when they need shade, you can move it to a shady spot. Limited light in an apartment will no longer stop your plants from growing.
Financial and Health Benefits
Lower household costs: Instead of spending money at the store again and again on vegetables such as carrots or leafy greens, you can fill a jerrycan or a bag with rich soil, sow your seeds and grow the same produce at home, cutting your living costs.
Access to healthy, organic food: You have full control over the soil you use. With a rich soil mix (a blend of soil, a little sand, charcoal ash and natural fertilizers), you can grow vegetables that are exceptionally healthy, nutritious and fully organic.
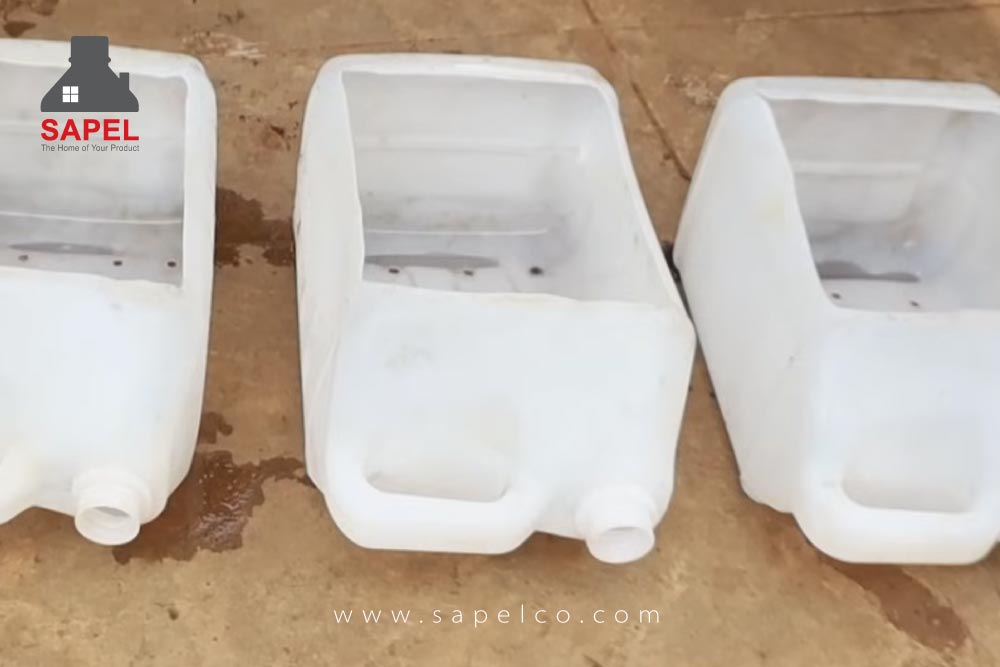
Step 1: Preparing the Jerrycan (the Planter)
Cut the plastic jerrycans to suit the root size of the vegetables you want to grow, so they work as sturdy, long-lasting planters. The most important next step in preparing a jerrycan is to make drainage holes in the bottom, which act as a drainage system and keep the roots healthy.
Well-placed holes let excess water drain away easily. This stops the container from becoming waterlogged and keeps the soil from hardening and compacting. If the soil in the container gets compacted, the roots suffocate and the plant soon dies.
Step 2: Preparing the Soil Mix
Soil is the foundation for any plant to thrive. If your soil is poor, your efforts will come to nothing, so you need to prepare a very rich, nutritious soil for your containers. You can enrich the soil with compost, which you can easily make at home. To make the ideal growing bed, mix these together:
-
- Base soil: the main part of your plants’ growing bed.
- A little gravel or sand: to help air circulate in the soil and improve drainage.
- Charcoal ash: to increase porosity and enrich the soil.
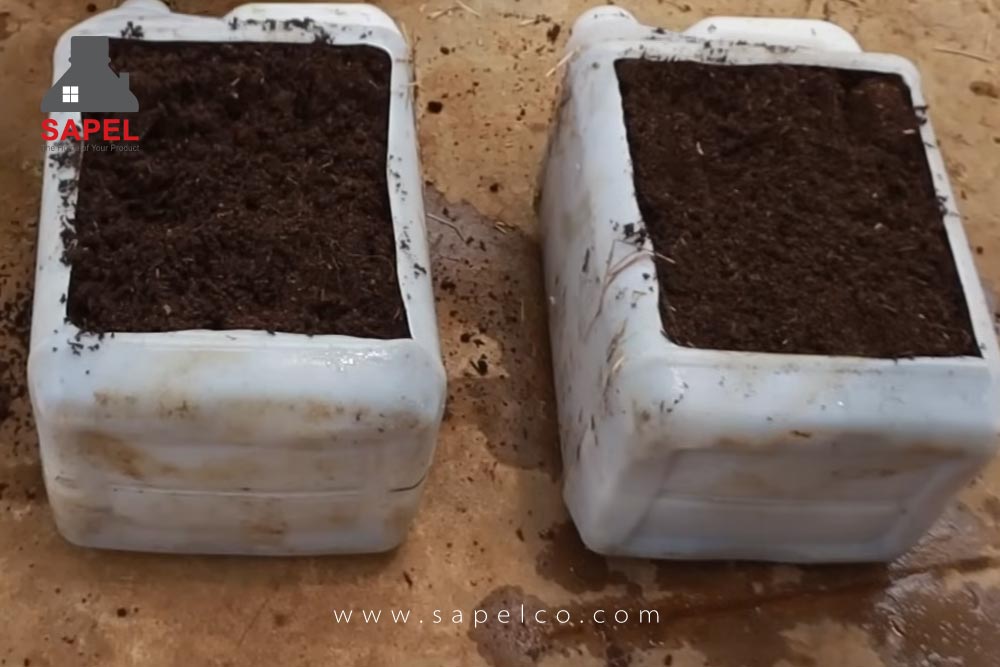
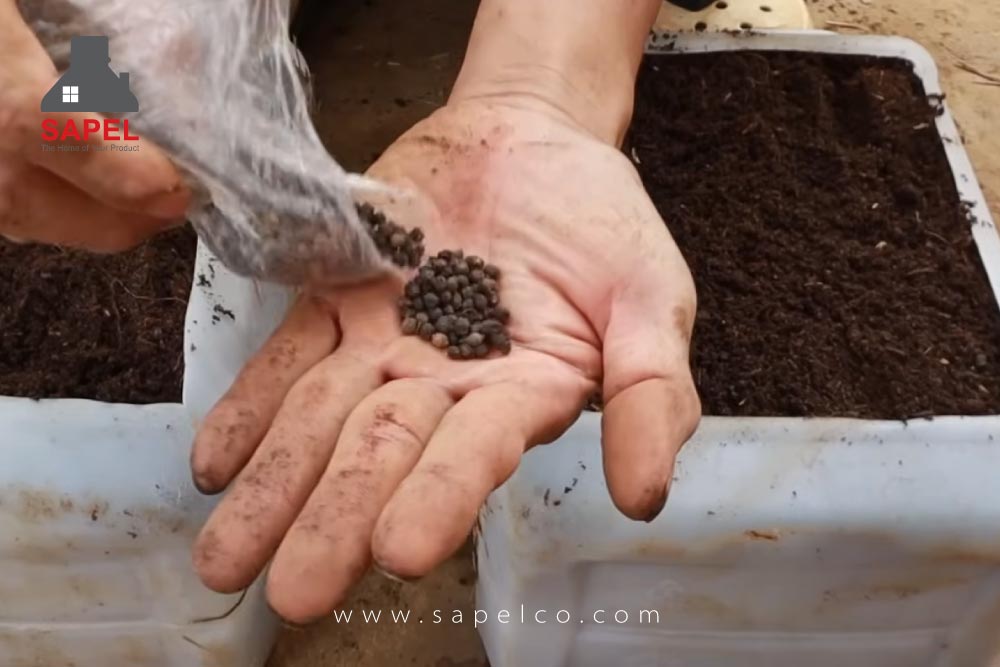
Step 3: Choosing Vegetables and Sowing (the Seed Bed)
Growing vegetables in small spaces has no limits, and you are free to choose whatever you like. In practice, crops such as cucumbers, eggplants, red and green lettuce, spinach, onions, carrots and green bell peppers grow extremely well in these containers. To get started, sow the seeds in the cut jerrycans so the first seedlings can grow well. A seed bed gives the delicate seedlings a concentrated, controlled environment to grow in.
Step 4: Essential Care from Seedling to Full Growth
The early stage of a plant’s life is its most sensitive. To get through it successfully, follow these care guidelines carefully:
- In dry seasons, keep to a regular schedule and water the soil twice a day, morning and evening. Because young seedlings are very delicate and weak, never hit them with a strong stream of water; instead, pour a little water gently at the base of the plant. You can also use homemade fertilizers.
- Because cut jerrycans are light and portable, you have the big advantage of being able to put the seedlings in the sun whenever they need light, and to move them easily whenever the sun is too strong or the plants need shade.
- Check the seed bed regularly. Unwanted plants and weeds (even plants such as wild amaranth that you didn’t sow yourself) use up the nutrients in the soil and hold back the growth of your vegetables, so pull them out right away.
- When seedlings (especially lettuce) grow very densely and close together, they compete with each other for nutrients. In that case, gently pull out some of the seedlings to make room. This spacing lets the remaining seedlings feed easily on the nutrients in the soil and grow and develop naturally.